Adding Address Books
This topic describes how to add an address book to a company. Adding address books saves you time from entering one address at a time. You will need address books to create distribution lists.
- On the ShipExec Management Studio home page, click Companies.
- From the Companies page, do one of the following:
- To add an address book at the company level, click the
 icon for the company to which you want to add an address book.
- To add an address book at the site level, click the icon for the company, then click the Sites tab, and then click the icon for the site for which you want to add an address book.
- To add an address book at the company level, click the
- Click the Address Books tab, then select Address Books from the drop-down list. The Address Book page displays.
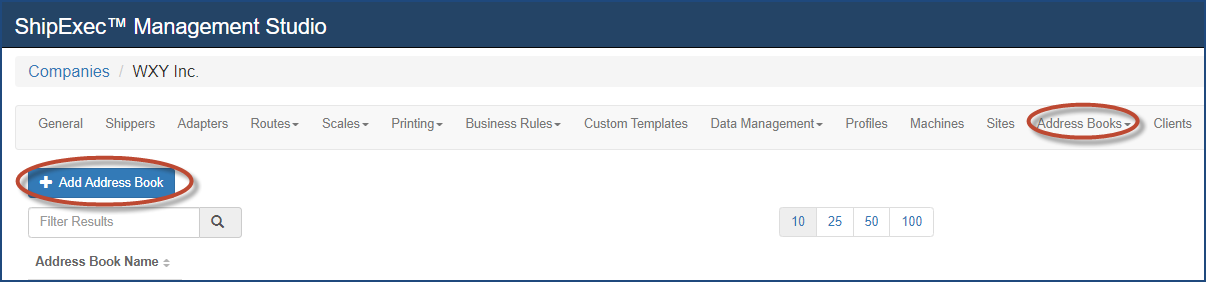
- Click Add Address Book. The Add Address Book dialog box displays.
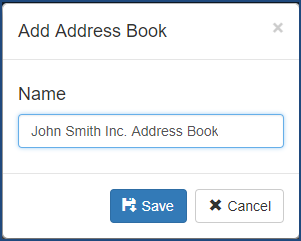
- Type the name of the address book in the Name box.
- Click Save. The Address Book page displays.
Note: The Address Book name will be visible to users.
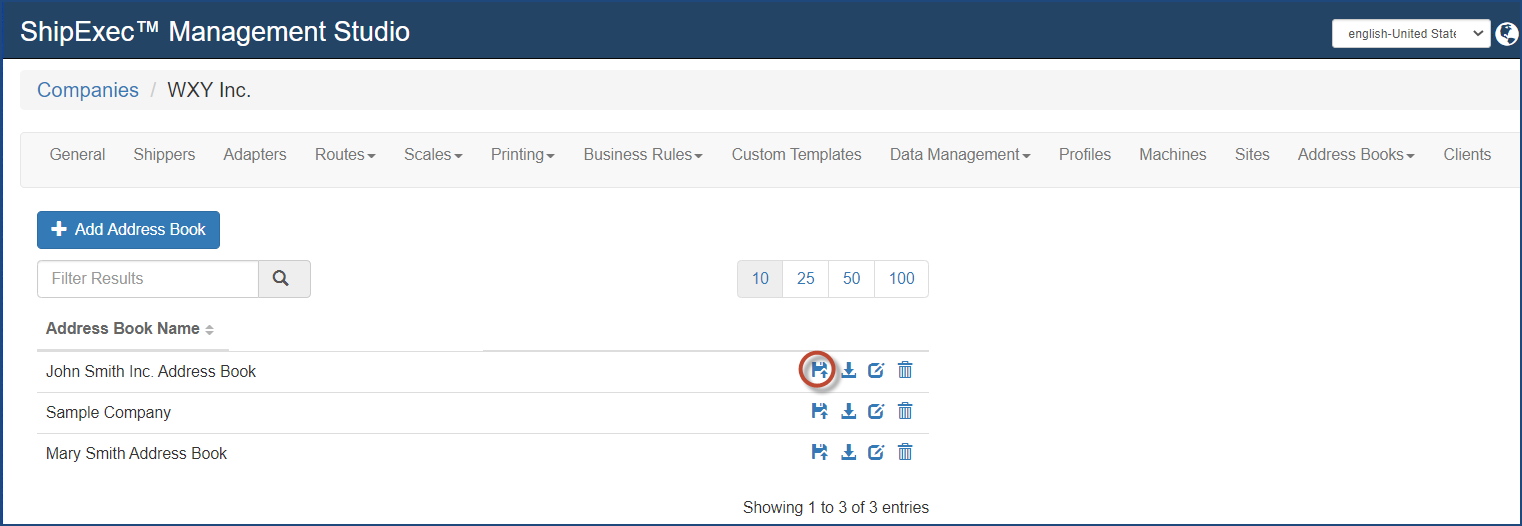
- Click the
 icon to upload addresses to an address book. The Upload Address Book dialog box displays.
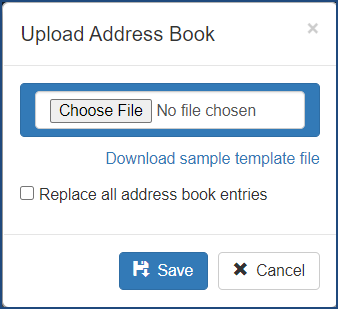
Note: You can download a sample template file if you want. Select the Replace all address book entries if you want to replace all address book entries.
- Click Choose File, navigate to your file location, and click Open.
- Click Save. The File Upload Status dialog box displays.
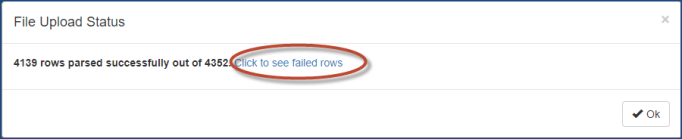
- Click the link to see the errors. Management Studio displays the File Upload Status page with failed rows.
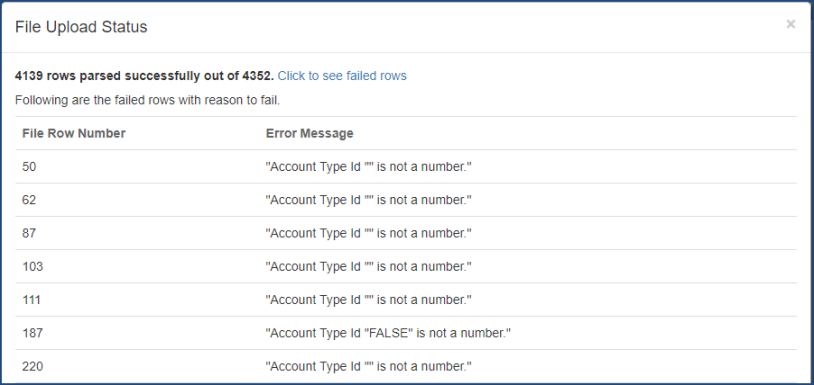
- When you have finished viewing the errors, scroll to the bottom and click OK.
- Click Save.
Related Topics